There are several ways to advertise a rental property and attract prospective tenants. One of the trendy and effective ways to do so is to create a video walk through tour of the unit!
These virtual tours provide a glimpse of your rental unit for prospective renters. Not to mention, these videos also make sense during a pandemic because you can promote your rental home without violating social distancing guidelines.
But how do you go about making a virtual tour? In this post, we give you tips on how to make the ultimate video walk-through tour.
1. Make a Plan
A video tour should look natural, but that doesn’t mean you should start filming on the fly. Instead, take some time to plan your video walk through tour. You can break the planning stage into two phases:
1. Make a list
List every room in your rental home and take note of what you will focus on in each room. A detailed list will lower the chances of error and save precious time when you record the tour.
2. Highlight the best features
To attract tenants, you need to focus on the features that set your property apart from the competition. These features can be appliances, furnishings, views from the balcony, or a spacious backyard.
So, find the home’s best features and strategically display them in the tour to pique the prospects’ interest.
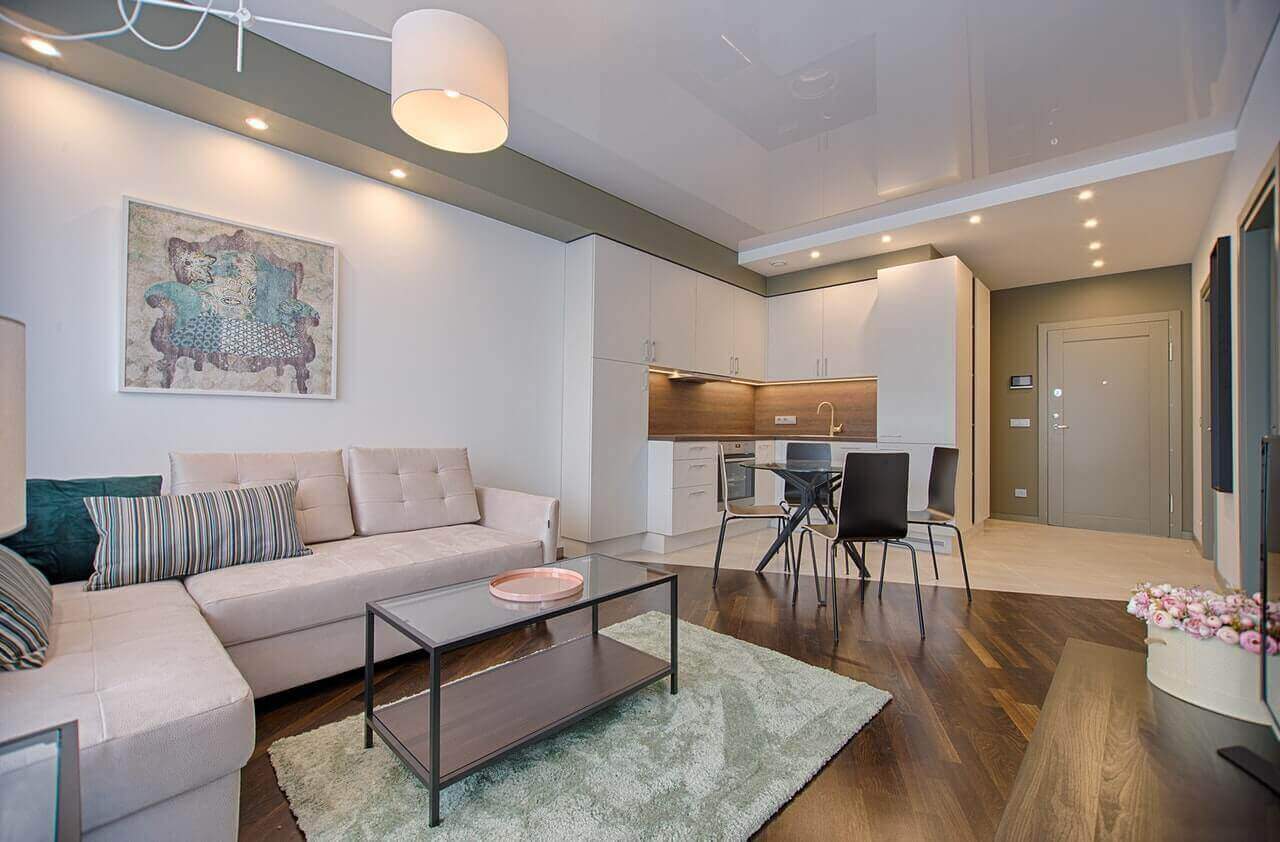
2. Give Your Home a Touch-Up
Before filming the video tour, you should clean up the rental property.
The purpose of a virtual tour is to help people imagine what it would be like to live in the property. So, you want your property to look attractive and neat. Remove clutter and unnecessary items from the rooms, such as tools, stacks of old newspapers, cardboard boxes and more.
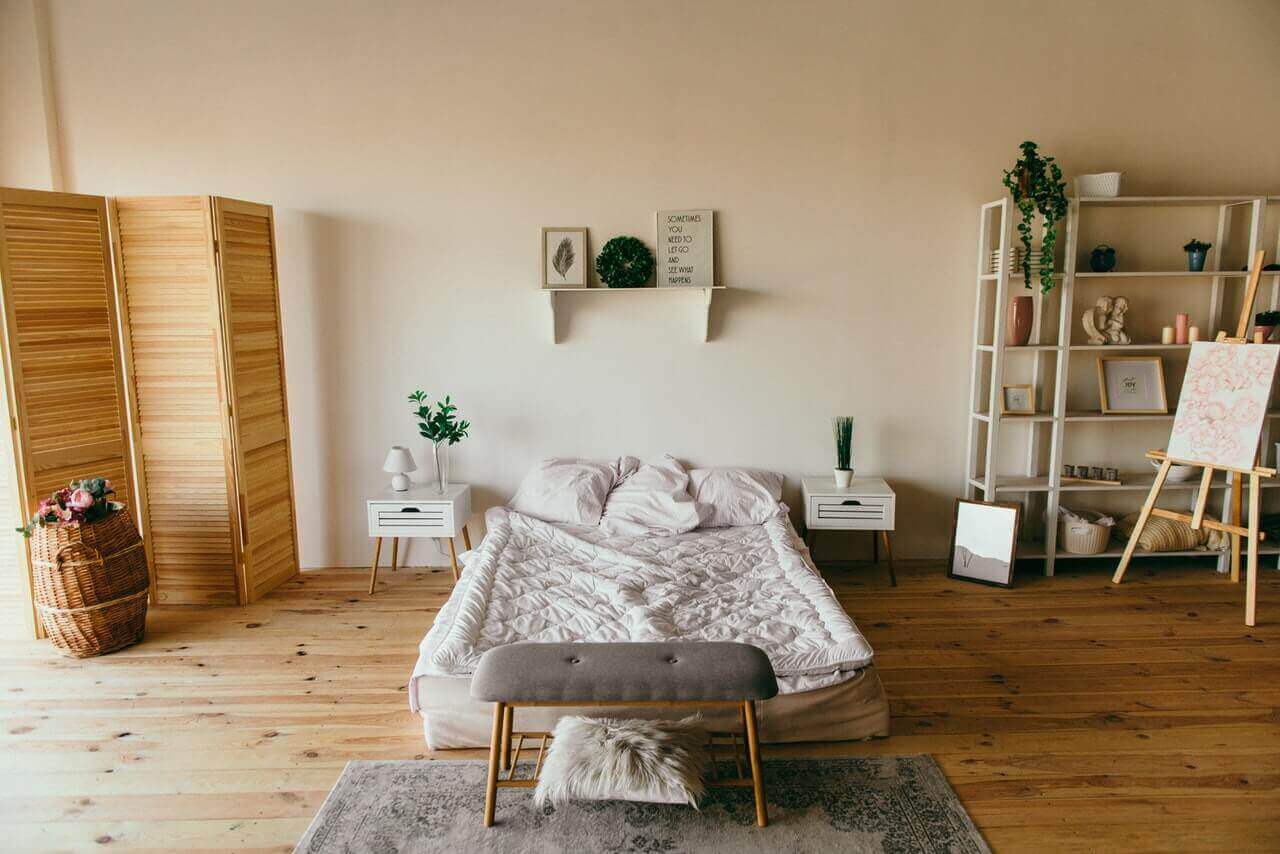
You can also add some plants near the window or some toys in the children’s room.
In real estate jargon, this is known as staging your property. These tweaks will make your rental property appear more attractive.
You may also consider hiring a cleaning company. Professional cleaners have the tools to make your property spotless in a few hours.
3. Set Up Your Recording Equipment
Once you make a plan and stage your property, set up your camera and tripod to start filming. You can shoot with a handheld camera, but tripods keep the shots stable and prevent shaking.
Level the camera on the tripod before you start shooting and adjust the perspective to achieve the best video quality.
Film in the landscape format because the horizontal frame provides a wide, cinematic appeal. Plus, the landscape format is compatible with most video streaming platforms, such as YouTube.
4. Test Your Equipment
Once you have adjusted the settings on your camera, take a few test shots and gauge the results. Consider the following:
- Lighting
The trial shots will show you how good or bad the lighting is. See how dim or bright each room looks. For the best results, shoot in natural lighting. But if you have to shoot at night, make sure you have adequate indoor lighting. Otherwise, even the best features of your home will appear blurry or dim.
- Clutter
A clean and well-arranged living space will attract renters more than clutter. So, review your trial shots and see if there is any clutter or distraction that can take away from the design and amenities of the rental unit.
- Reflection
Check the shots to see if there is any reflection from windows, mirrors, or other glass and metallic surfaces. Reflections can make for a poor viewing experience and makes the video appear unprofessional.
Overcoming these minor hurdles will set you up for filming in no time.
5. Start Shooting
With the preparation taken care of, you can start recording the tour. Keep your list handy, so you don’t miss anything important while filming. Also, take your time to capture each room. You can always shorten the footage during the editing process.
In terms of audio, you can record your voice while filming or do a voice-over later.
6. Edit Your Video
Once you have recorded all the video clips, it’s time to edit them together. Some of the best video editing software for real estate include:
- Video Creek
- iMovie
- Splice
- Magisto
Review the footage and edit the following:
- Voice: Now is the time to use a voice-over on the video. You can also add some generic music.
- Color Grading: Color grading helps to enhance the property’s features and retain the viewer’s interest.
- Length: Check for the length of each clip. Try to stay consistent with the time you spend in each room. It should be long enough to cover all the details, but avoid it being too long or repetitive.
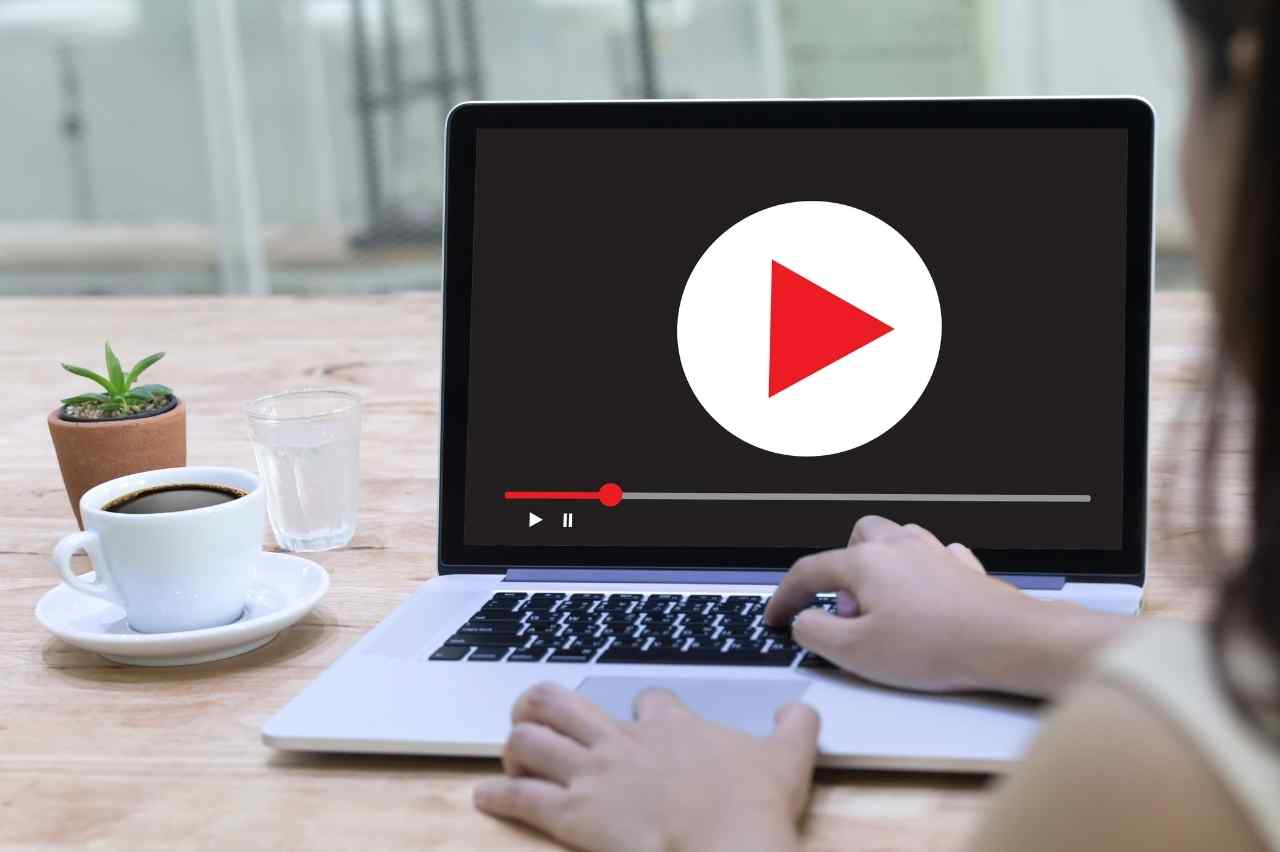
7. Post Your Video
After you edit the video, the final step is to post it! You can upload the video on your YouTube channel, website, real estate portals, and social media pages. Just make sure to leave your contact details at the end of the video or in the description.
Bottom Line
Video walk through tours are a great way to market your rental property!
In the end, remember that video tours aren’t a replacement for your traditional property marketing techniques, such as property photos and property descriptions. However, videos can enhance your overall advertising strategy.
For more information, reach out to Real Canadian Property Management Solutions today. We’ll be more than happy to further guide you in this regard!