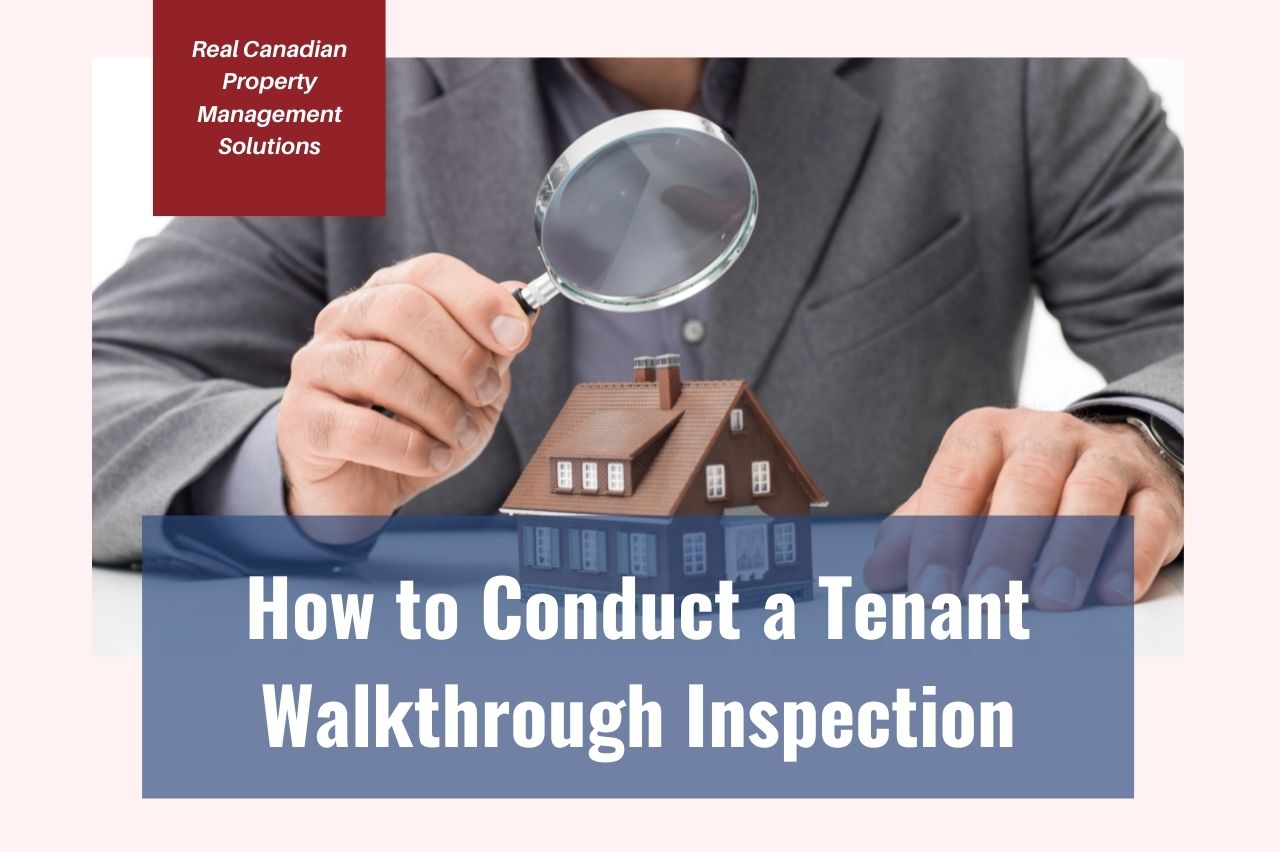
When a new tenant moves in, it is essential that you conduct a thorough walkthrough inspection to document the exact state of the property. By conducting a walkthrough inspection with your tenant, you will protect yourself from having to pay for any potential damage that occurs while the tenant is living on your property.
In a walkthrough inspection, you will follow a checklist and have your tenant sign off on it. This way, if the damage is to occur, you will readily have proof that the damage was not existing when the tenant moved in. With this proof, you will be able to deduct the damage from the security deposit without dispute.
Now that you know why it is important to conduct an inspection, let’s get started! In this article, you will learn how to conduct a walkthrough inspection and protect yourself from having to pay for any potential damage to your property.
Creating a Checklist
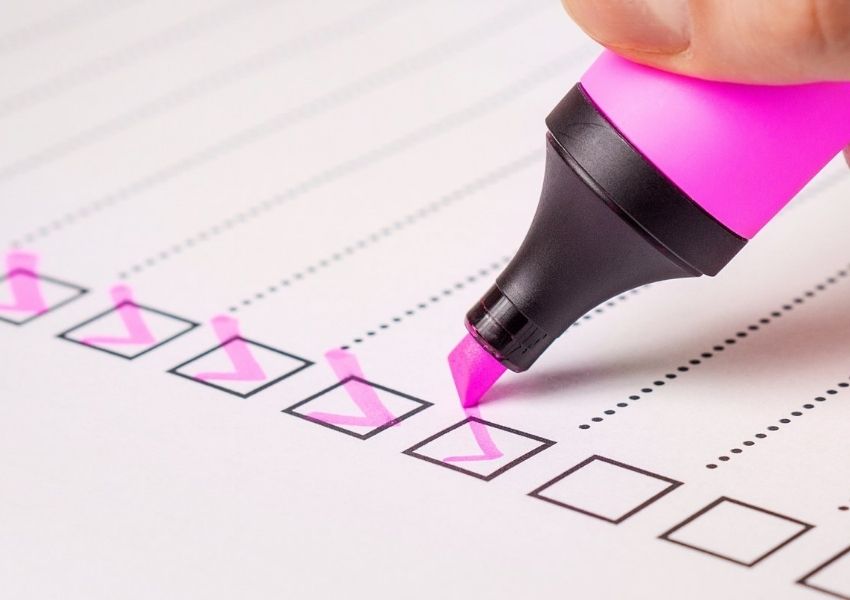
Having a good checklist is key to conducting a good walkthrough. A checklist will not only ensure that you don’t miss anything that could violate landlord-tenant laws, but you can have your new tenant sign off on each point on the checklist.
We’ve put together a list of what you should include on your checklist. Keep in mind that you may need to add/remove things from your own checklist depending on what amenities your property has.
- Condition of flooring
- Condition of walls and ceiling
- Condition of doors and windows
- Condition of kitchen appliances
- Condition of bathroom fixtures
- Condition of countertops
- Condition of fireplace
- Condition of outdoor living area
When documenting conditions, be as detailed as possible. You must write the exact condition of the property and have your tenant sign off on it. When your tenant moves out, you will use the same checklist and document the condition of the property again.
If you have a detailed write-up when the tenant moves in, you will be able to quickly account for even the smallest amount of damage when your tenant moves out.
But, if you have any questions, you could contact a property management company like us at Real Canadian Property Management and Solutions. We have years of experience managing property inspections and will be happy to help.
What to do Before the Inspection With Your New Tenant

Before you inspect your property with your new tenant, you will of course want to inspect it by yourself first. Normal wear and tear are expected to happen, so you will likely want to fix things or even make upgrades to your property between tenants.
For example, you might want to paint the walls if there are small marks or consider updating your kitchen appliances if they are becoming dated.
When you show your new tenant that you treat the property with care, they are likely to do the same. A tenant will be less likely to treat a property with care if it is not in good shape when they move in.
What to do During the Inspection
When conducting the inspection with your tenant, go over everything in detail and answer any questions your tenant may have. This is also a good time to discuss clauses in the lease agreement related to things like painting the unit or putting nails on the walls to hang pictures as well as what constitutes breaking the lease.
Remember that the inspection is protecting both you and your tenant. So, you will want to show them that you care and that you want them to understand rules relating to what they are allowed to do to the property.
What to do When Your Tenant Moves out

When your tenant moves out you will conduct a walkthrough inspection using the same checklist as when they move in. The move-out inspection should be conducted when the tenant has removed all their belongings and cleaned the unit. Ideally, you will conduct the inspection when the tenant turns over the keys.
Just like when the tenant moved in, you will go over the condition of the property in detail. If damage has occurred, the tenant will not be able to say that the damage was existing when they moved in, because they signed off on the condition of the property during move-in. Hopefully, this streamlines any end-of-tenancy issues.
Bottom Line
A walkthrough inspection doesn’t need to be complicated! Make sure you create a detailed checklist and have your tenants sign off on it as you conduct a walkthrough when they move in.
Your property should be in good condition when the new tenant moves in. By showing the tenant that you care about the property, they will also treat it with care.
When your previous tenant moves out, you should make any necessary repairs to the property before your new tenant moves in. This is also an excellent time to make upgrades to the property.
When a tenant moves out, you will conduct a walkthrough inspection of the property using the same checklist as when you moved in. This way, you can easily account for any potential damage to the property.
If you have any further questions, please don’t hesitate to contact us at Real Canadian Property Management and Solutions.